Getting Started
Within a few steps, we can help you to control a ring led using a Buddy Tag and a ESP32 board.
Create new account
Just go to BUDDY STEM Website to create new account.
Setup device
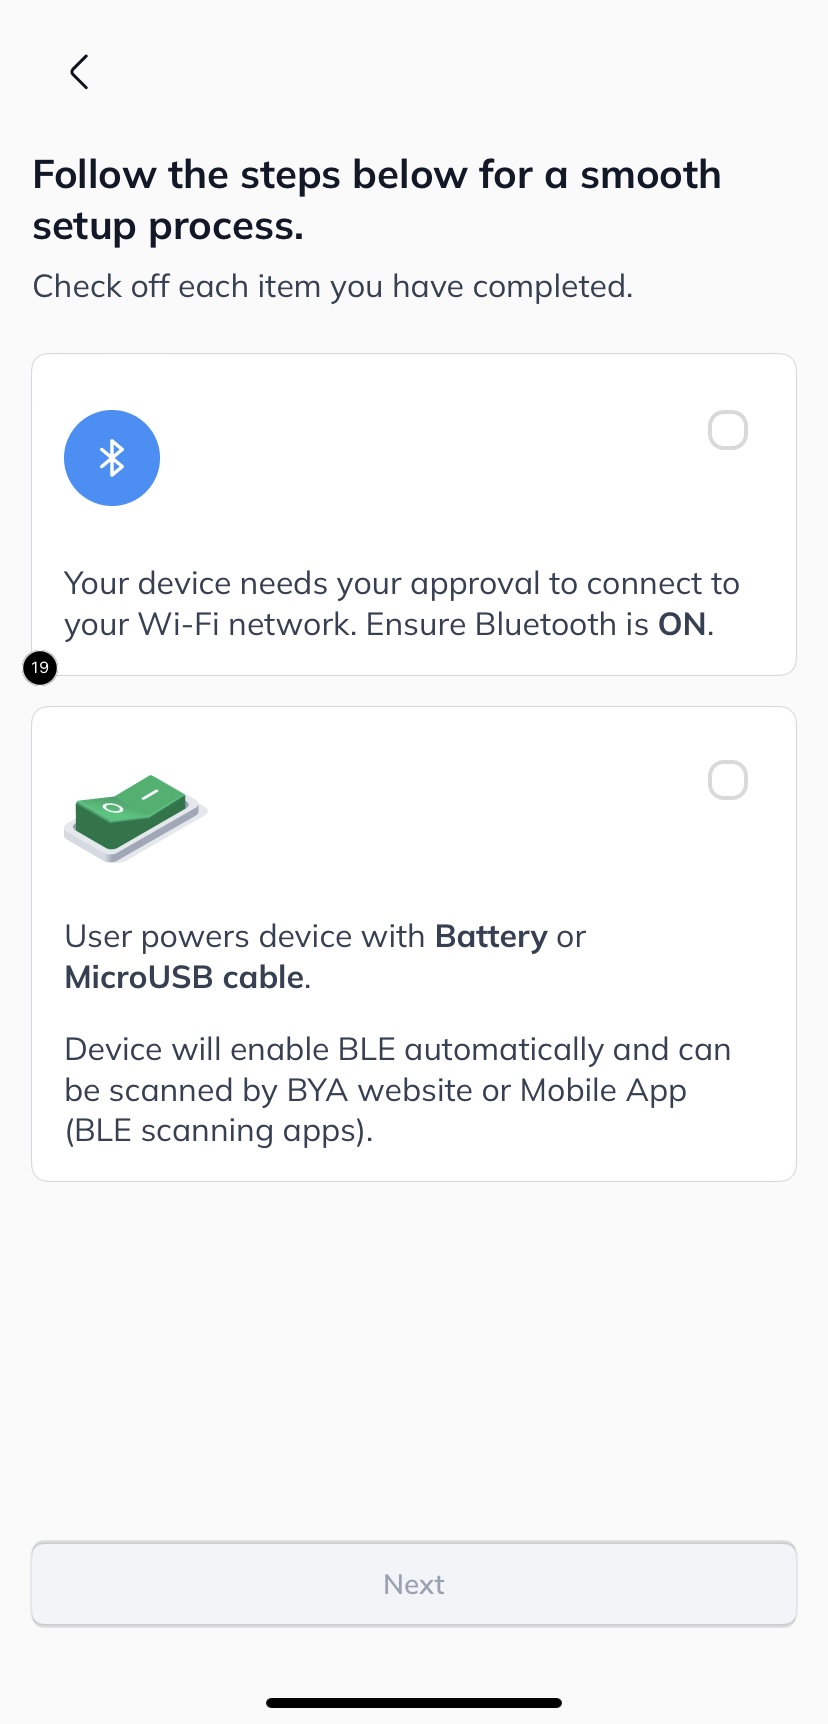
The best way is using mobile application to setup wifi for Buddy Base and Buddy Tag. Two device types but setup with the same way.
You can setup by IOS app, Android app and Web app.
Mobile app
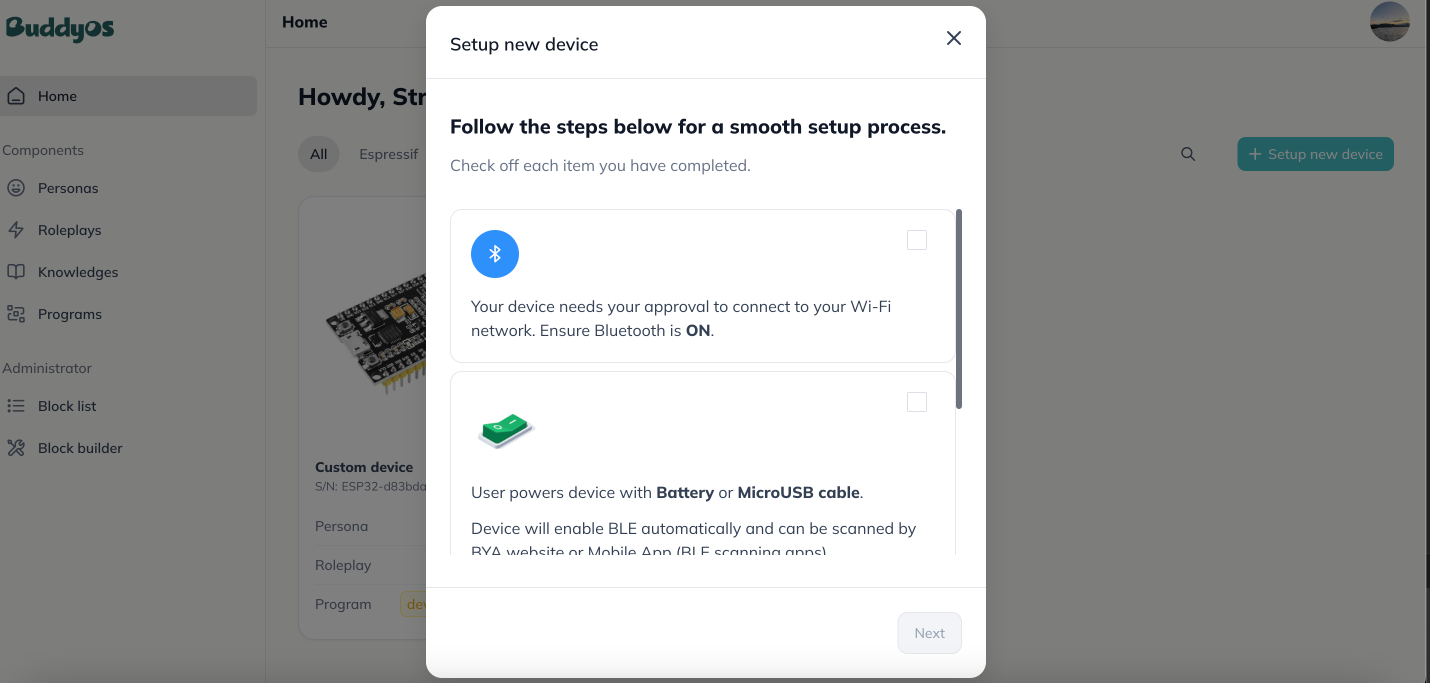
Web app
Buddy tag
- Hold circle button 10 seconds to let device go to setup mode.
- Scan QR code behind the Tag or enter serial number to setup using mobile app with Bluetooth connection.
Buddy Base (ESP32 Board)
- Power board using USB cable or battery.
- Use a wire to connect
GNDandGPIO 20until the RGB led go RED then remove the wire, device will go to setup mode. Use this method to update wifi for the board when the wifi is not ok. - Scan QR code or enter board serial number of board to setup using mobile app (web app) with Bluetooth connection. When the RGB led turns off, device can be used.
- This wire works like a button, so you can create a button to reset factory device for a complete product.
- RGB Led colors: RED (setup mode), BLUE (Restarting), GREEN (signal from Cloud).
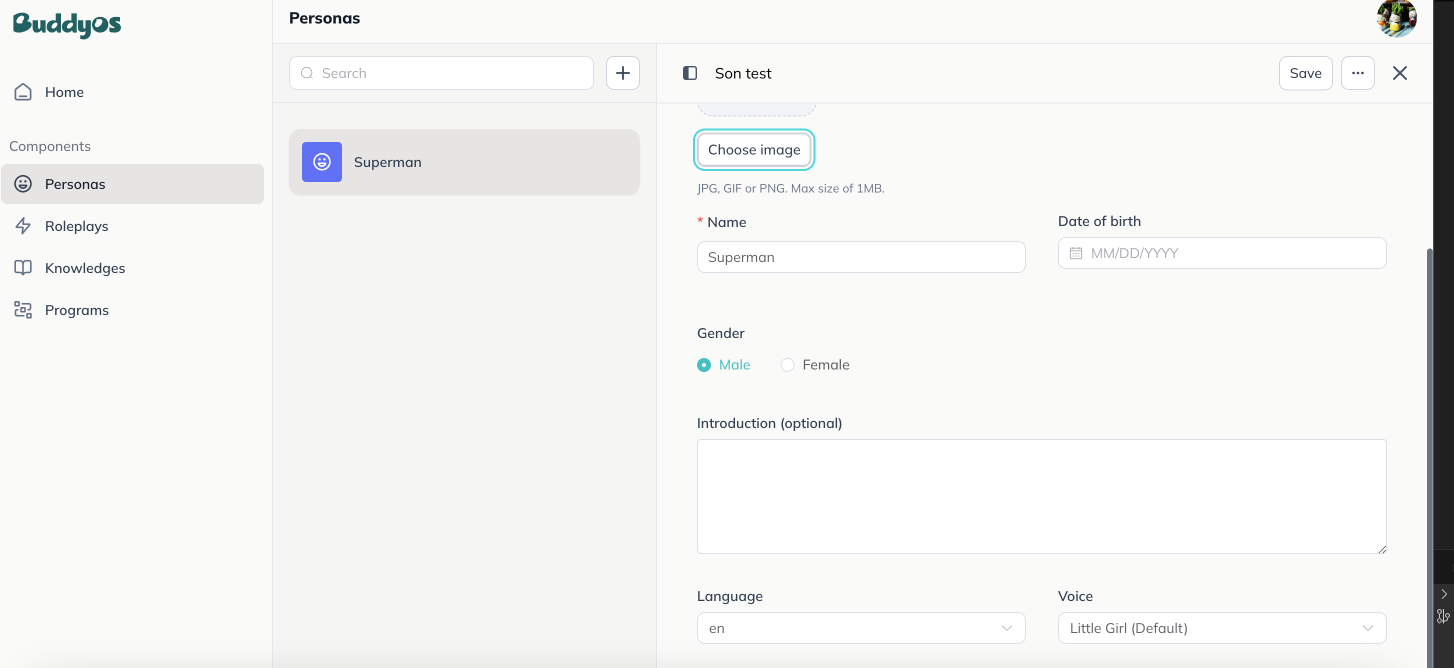
Create persona
- Now you will create persona, roleplay and program on web app.
- A Persona defines your buddy tag name, voice. It's like your virtual avatar.
Create roleplay
- Roleplay defines the content deliverd by your device. For example: A roleplay named
AI masterwill make your device talks with the knowledge in AI subject. System prompt is the most important data you have to input.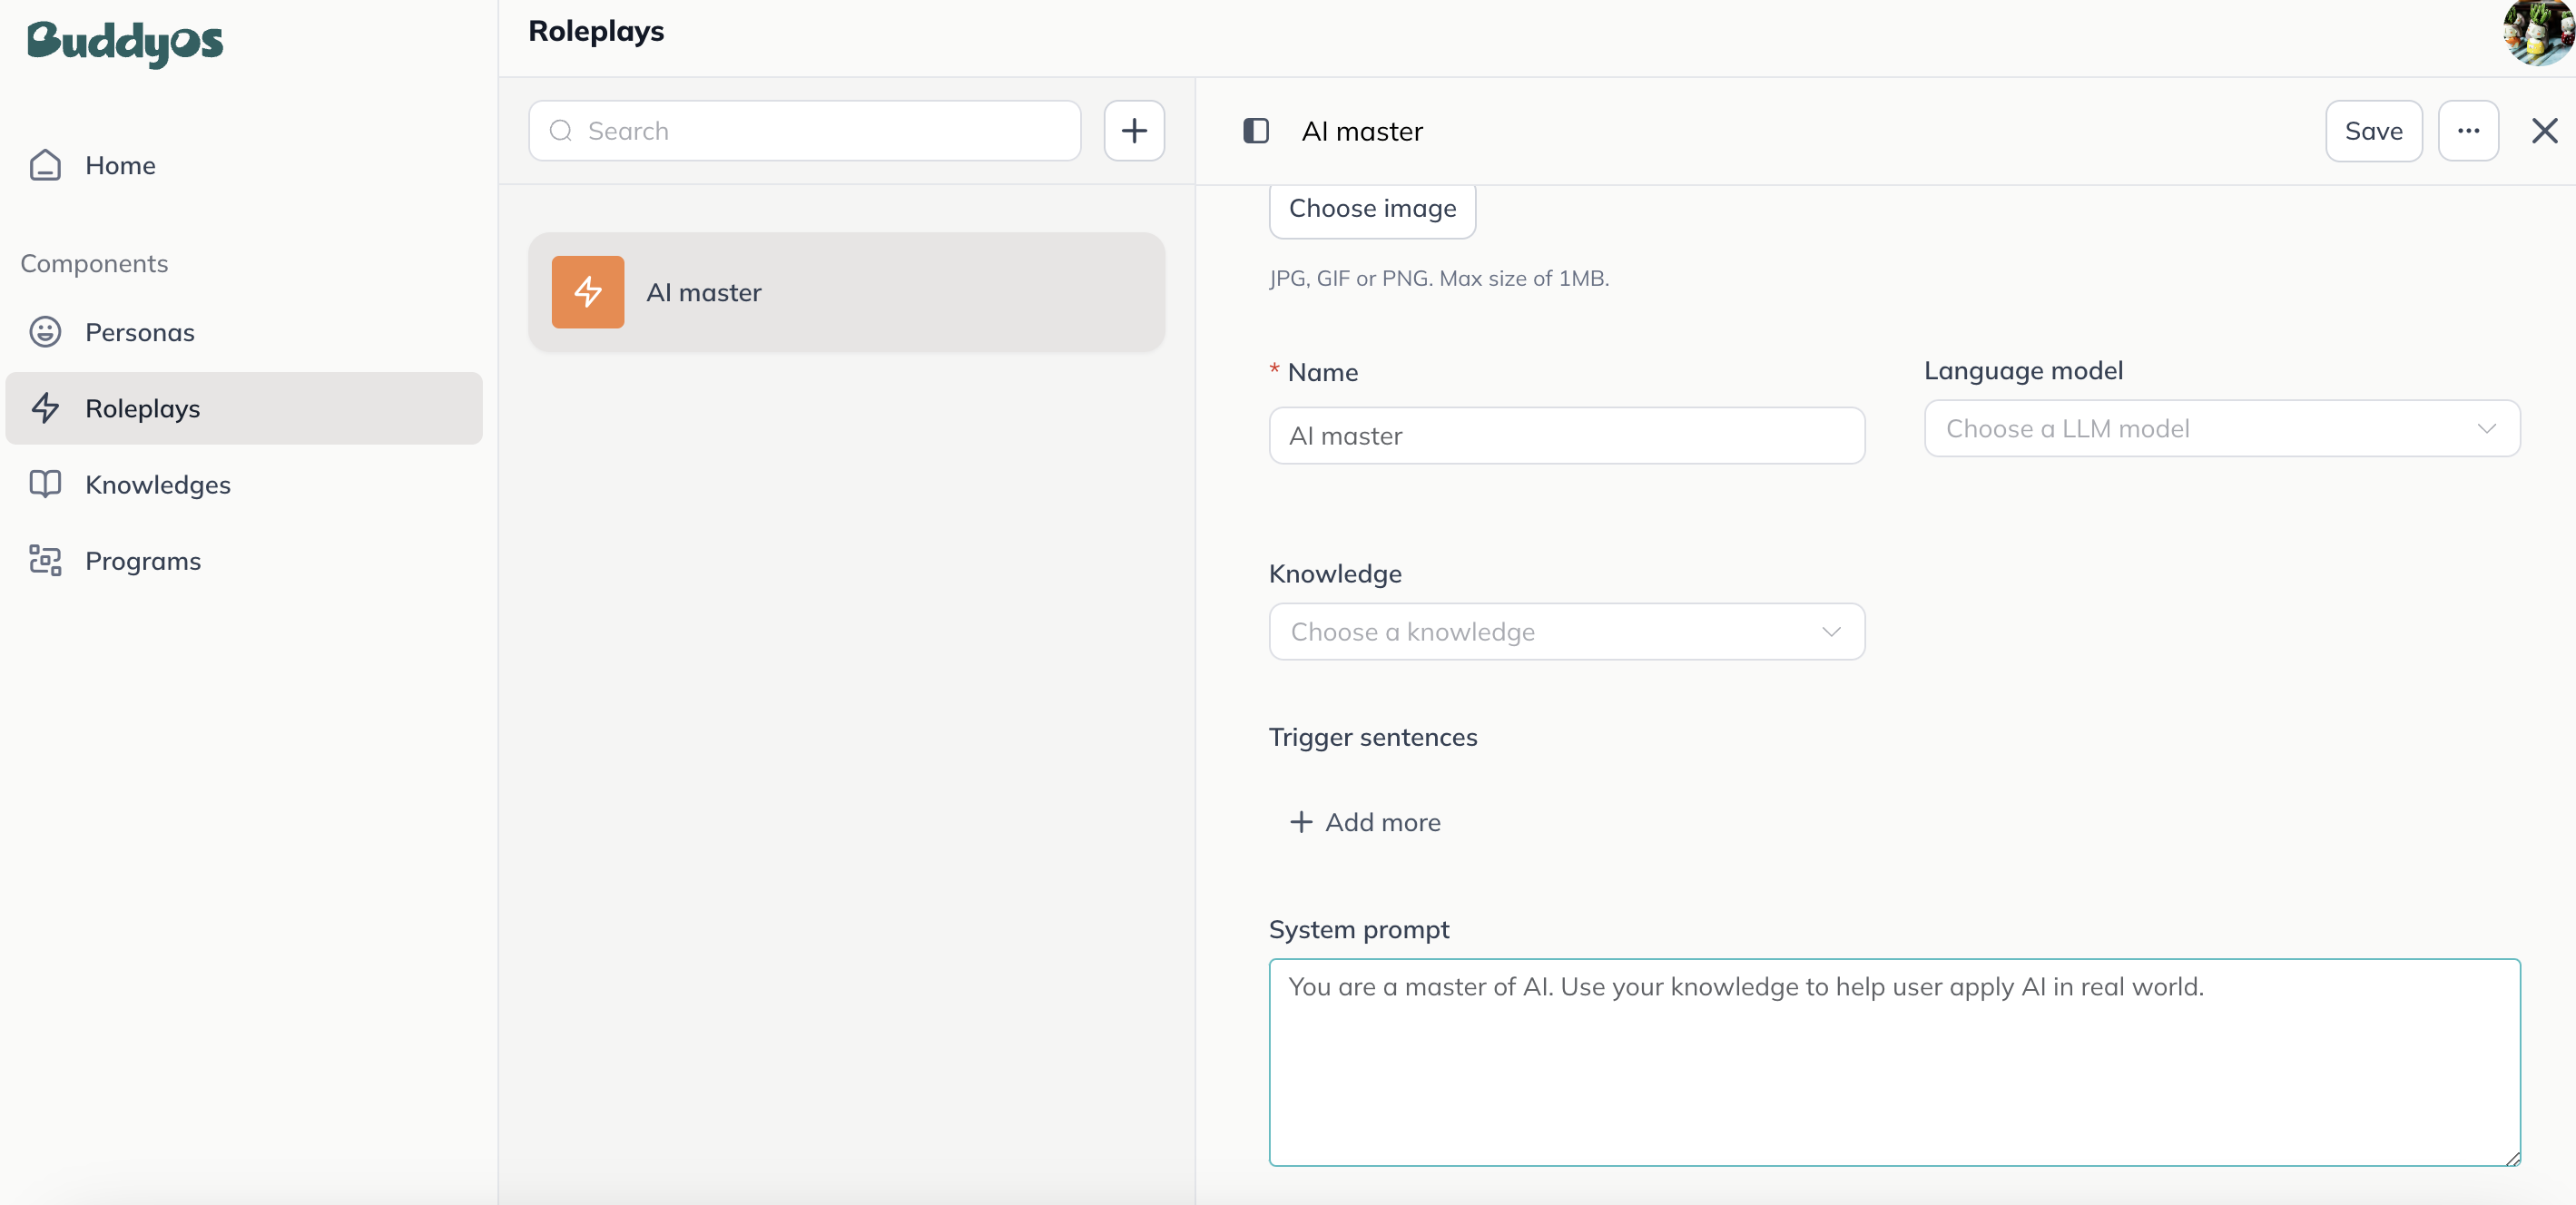
Create program
To control the ring led, you need 2 programs, one for Buddy Tag and one for ESP32 board.
- Create new program with device type you want. Now we support two types:
buddy_tagandesp32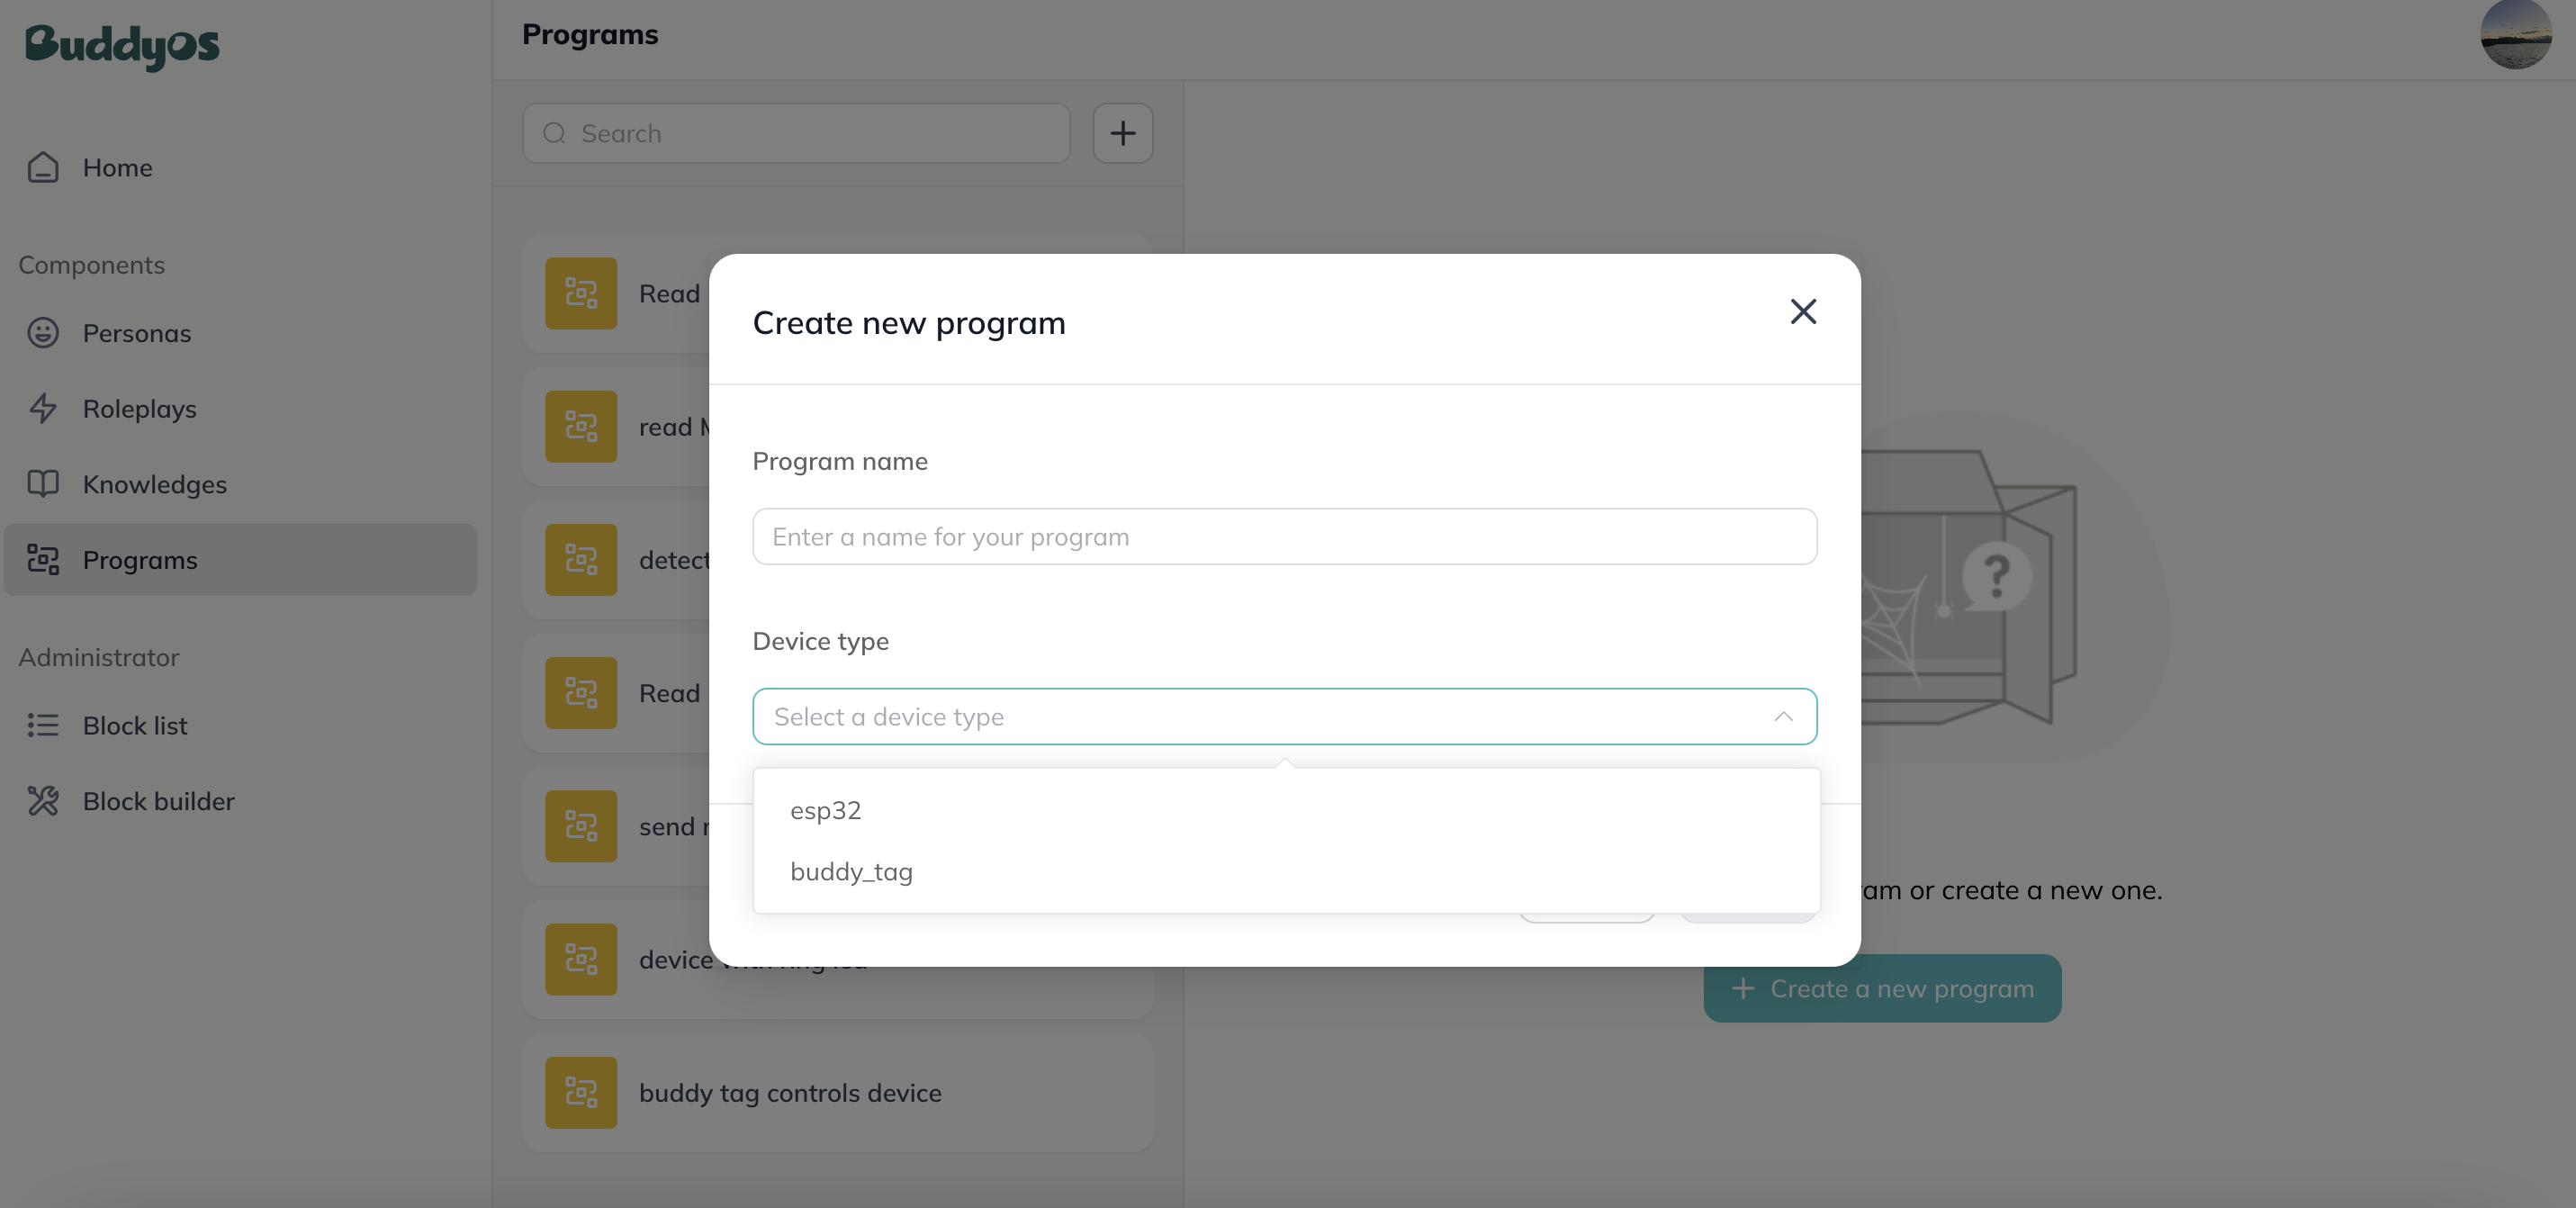
- Program for Buddy tag
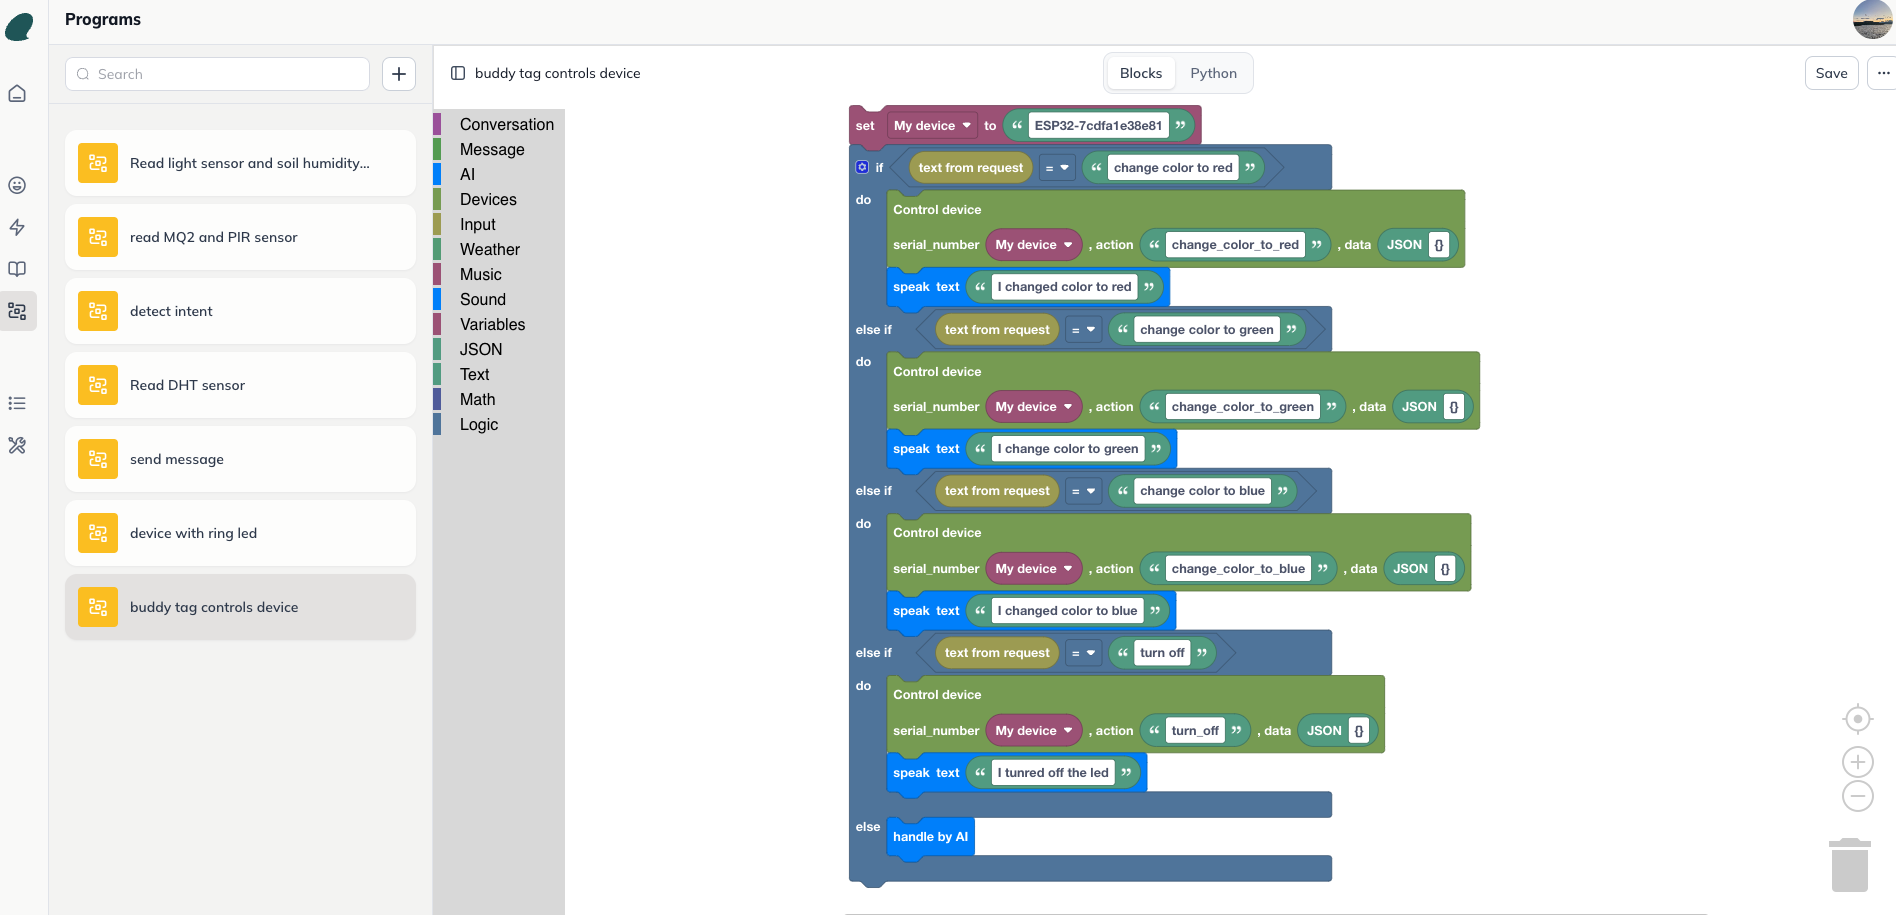
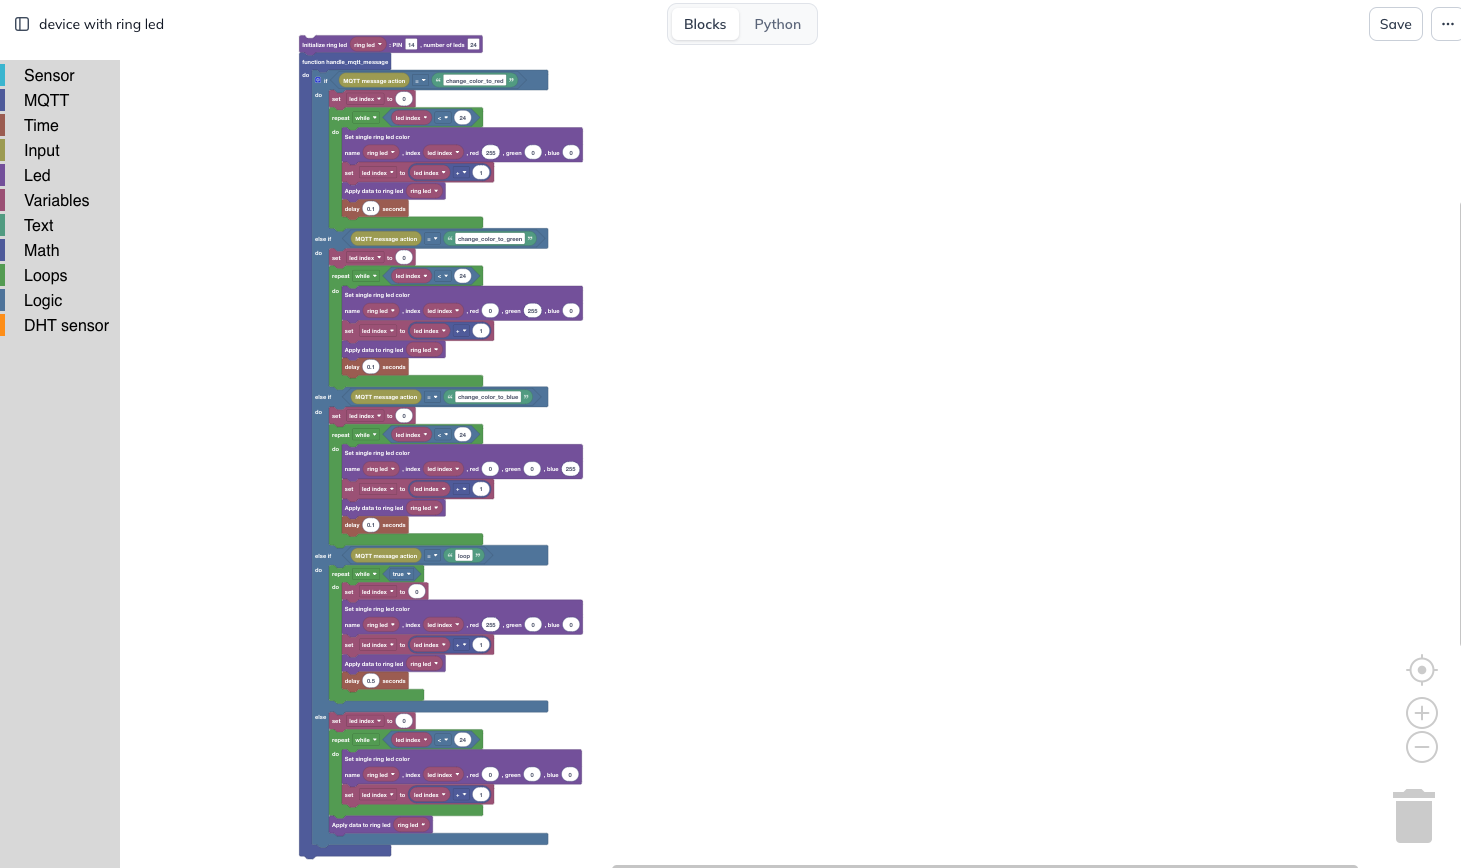
SetMy devicevariable toserial numberof your ESP32 device - Program for ESP32 device
Combine everything into your device
- Now go to home and add persona, roleplay, program for Buddy tag and ESP32 device.